Karl Wilhelm, father of KMM’s President Eric Wilhelm, laid the foundation for KMM’s precision machining arm. Starting as a European immigrant Tool and Die Maker, Karl founded KVInc in Huntington Valley, Pennsylvania, in 1977. With his strong technical background, he quickly established a name in the industry by designing and building tools and dies for automation that produced parts such as bandages, papers, plastics, and laminates. These projects required extremely close tolerances, sometimes less than one ten-thousandth of an inch, earning him a reputation for quality in design and high-precision manufacturing

By 1979, Karl ventured into Wire EDM (electrical discharge machining), developing an area of expertise that defined his legacy. Recognizing the potential of wire EDM technology, he authored a white paper titled “Designing Your Die Components for Wire EDM,” which has remained influential guidance for engineers and product designers.
This post honors Karl’s wisdom by showcasing critical insights from his white paper and explaining why wire EDM remains a vital technology that continues to push the boundaries of precision manufacturing.
Karl’s Wisdom: 9 Rules for Designing Die Components for Wire EDM
Karl’s white paper offers detailed guidelines on designing die components for wire EDM. Here are the key points that engineers and product designers need to know:
1. Starting Hole Location: Position the starting hole on the symmetrical center line, if possible, or 0.200″ (5080 µ) from the program path to minimize finishing work. Choose a location where the finish mark will be least noticeable and most accessible to dress off. Ensure the hole maintains a common relationship between the punch and die and is perpendicular to a straight line or radius.
2. Starting Hole Condition: When used as a datum, the starting hole must be perfectly round, square to the surface, or relieved to present only a small land. Aim for a hole size between 3/32 to 1/8 inch to ensure good flushing conditions. Ensure the hole is clean and clear of non-conductive materials like heat-treating salts.
3. Datum Accuracy Requirements: Use a through hole or vertical surface for pick-up and leave a thousandth or two for edge re-finishing. Round holes (piercings, dowels, etc.) can be added simultaneously with irregular cut-outs for absolute accuracy and repeatability. When true shapes are required, your wire EDM provider will cut a hole in a
plate, insert the button, and cut in a known location for good concentricity.
4. Test Cuts: Factor in test cuts to determine the optimal cutting speed and gap width. This step ensures the accuracy and quality of the final components, mainly when dealing with complex geometries and tapered features that require extreme precision.
5. Minimum Radius: When turning a corner, the wire center line must execute a minimum radius of 0.001″ (25.4 µ). Providers typically, use a minimum radius of 0.006” (152 µ), but you can achieve smaller radii with thinner wire at a slower speed and higher cost. We are able to achieve inside corner radii of .0020” (50.8 µ). Discuss the resulting radii with your wire EDM provider based on the material, thickness, and die taper.
6. Final Accuracy: Aim for a general tolerance of ±.0005” (12.7 µ). Tighter tolerances are achievable by skimming, and re-cutting, which increases time and as a result, costs. Minimize heat treatment stresses by double or triple drawing blanks and ensure the frame maintains dimensional integrity until the part is severed from the block.
7. Taper Relief: Utilize wire EDM to achieve true conical relief from 0° to 2°, with a current practice recommendation of 1/4° to 1/2° taper relief without a parallel land. This minimizes dimensional changes due to regrinding and is usually acceptable, though land and taper relief is possible.
8. Design Considerations: Design dies for wire EDM to be more compact with fewer stations and smaller presses, taking advantage of the high hoop strength of one-piece dies. Review your design to harness
the full benefits of wire EDM.
9. Punch from Die Technique: Use the slug from the die opening as a punch, adjusting the angle up to 2° for cutting clearance. This method allows for pre location of the punch and die for perfect alignment when cutting.
Wire EDM is Here to Stay
Karl’s wire EDM white paper offers timeless die component design guidance for engineers and product designers and emphasizes the advantages of this technology in producing precise and high-quality parts. Here’s why this advanced technology remains essential to the precision manufacturing industry:
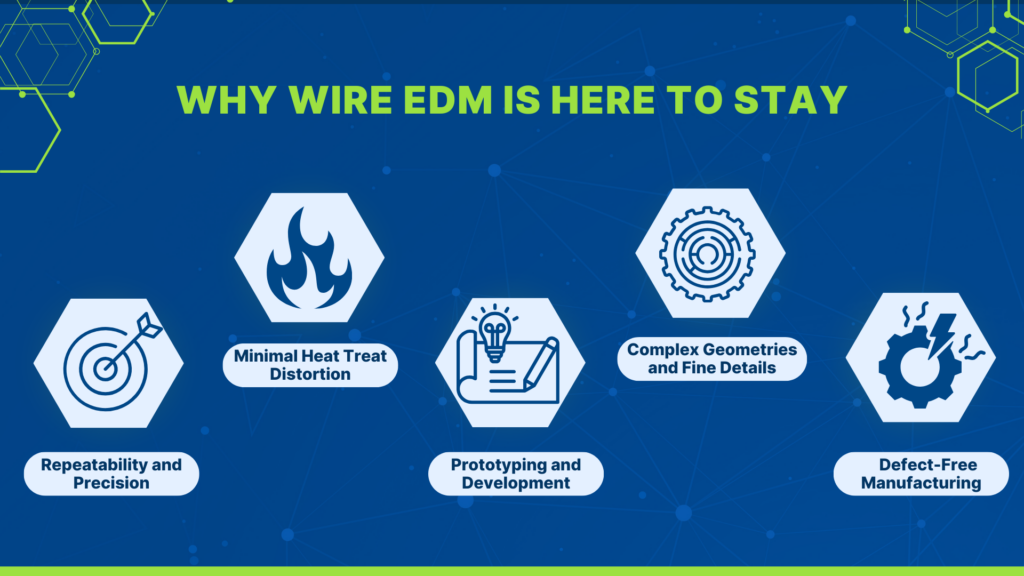
· Repeatability and Precision: Wire EDM is a continuous path-CNC traveling process, making designing and building dies economical and requiring less lead time. Once a program is made, punch and die components produced by wire EDM can be readily and consistently reproduced with accuracies of 0.0002″ (5 µ) total.
· Minimal Heat Treat Distortion: Since the wire cut process is done after heat treatment, there is no metallurgical change at the eroded surface. This eliminates heat treatment distortions, ensuring the final product maintains its structural integrity and precise dimensions. Be cautious with large die openings, to rough the center out in machining to promote material stability after wire EDM.
· Prototyping and Development: Wire EDM is particularly valuable for development work. Prototypes can be easily programmed and wire EDM cut in simple set ups. The program can easily be corrected to allow for efficient and cost-effective adjustments.
· Complex Geometries and Fine Details: Wire EDM can achieve intricate
interior geometries, provided there is a straight surface from top to bottom. It allows for the creation of thin walls, small internal radii (as small as .0013” (33 µ)), and precise contours. This capability is crucial for high-precision applications, such as medical devices, aerospace, and automotive components.
· Defect-Free Manufacturing: Wire EDM’s thermal process uses electrical discharges to cut conductive materials, ensuring no mechanical stress is induced. This stress-free machining preserves the integrity of delicate components and can even relieve existing stress in materials during cutting. As a result, the parts produced are high quality, with minimal risk of defects.
Celebrating a Legacy of Precision & Quality
Karl’s contributions have significantly influenced our approach to precision manufacturing today. With a rich history and lineage of advanced machining expertise, we continually push the limits of wire EDM technology for exceptional precision, repeatability, and efficiency. In the years ahead, we will continue upholding the high standards of accuracy and quality that Karl and our other forefathers have championed throughout their careers.
Click here to download an article written by Eric Wilhelm about KVI’s EDM Excellence: Crafting the Future of Ultra-Precision Machining